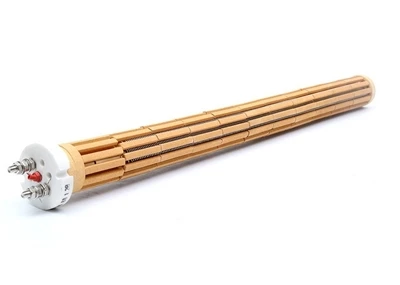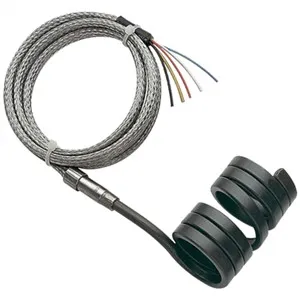
Installing a flat heating element might seem like a daunting task, but with the right guidance and a bit of know - how, it can be a straightforward process. As a flat heating element supplier, I've seen firsthand the importance of proper installation for optimal performance. In this blog post, I'll walk you through the steps to install a flat heating element, from preparation to testing.
Preparation
Before you start the installation process, it's crucial to gather all the necessary tools and materials. You'll need a screwdriver, a pair of pliers, a multimeter to test the electrical connections, and of course, the flat heating element itself. Make sure the element you've chosen is the right size and wattage for your application.
If you're unsure which flat heating element is suitable for your needs, we offer a wide range of products, including the Flat Tubular Heater For Mold Heating, Deep Fryer Heater Element, Flat Firebar Tubular Air Oven Heater, Deep Fryer Heating Element Tube, and Flat Tubular Heating Element. Each of these products is designed to meet specific heating requirements.
Safety is also a top priority. Ensure that the power supply to the area where you'll be installing the heating element is turned off. This will prevent any electrical shocks or accidents during the installation process. Wear appropriate safety gear, such as gloves and safety glasses, to protect yourself from any potential hazards.
Step 1: Remove the Old Heating Element (if applicable)
If you're replacing an existing heating element, the first step is to remove the old one. Start by disconnecting the electrical wires from the element. Use the pliers to loosen the wire nuts or terminal screws. Be careful not to damage the wires during this process.
Next, remove any mounting brackets or screws that are holding the heating element in place. Depending on the design, there may be one or more brackets securing the element. Once the brackets are removed, gently pull the old heating element out of its housing.
Step 2: Clean the Installation Area
After removing the old heating element, it's important to clean the installation area thoroughly. Use a clean cloth or a brush to remove any dirt, debris, or residue that may have accumulated over time. A clean surface will ensure a proper fit and good thermal contact between the new heating element and the housing.
Step 3: Position the New Flat Heating Element
Carefully place the new flat heating element into the installation area. Make sure it is aligned correctly with the mounting holes or brackets. Some heating elements may have specific orientation requirements, so refer to the manufacturer's instructions to ensure proper placement.
Step 4: Secure the Heating Element
Once the heating element is in the correct position, use the mounting brackets or screws to secure it in place. Tighten the screws firmly, but be careful not to overtighten, as this could damage the element or the housing.
Step 5: Connect the Electrical Wires
Now it's time to connect the electrical wires to the new heating element. Match the wires according to their colors or markings. If you're unsure which wire goes where, refer to the wiring diagram provided by the manufacturer.
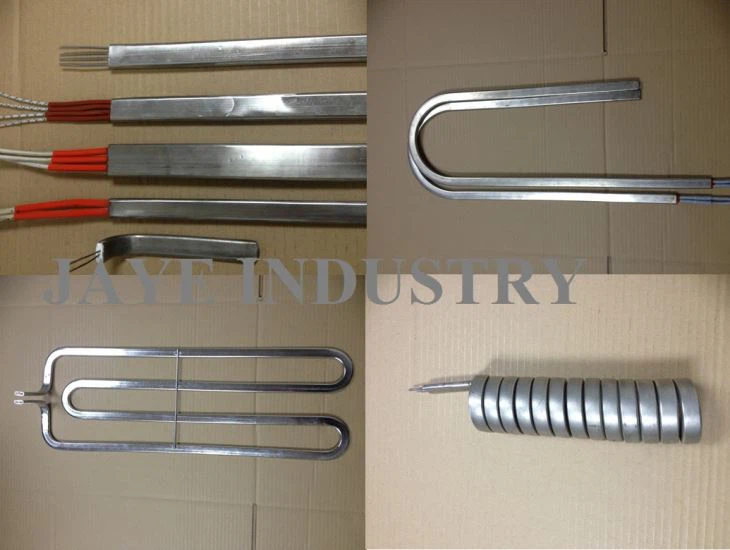
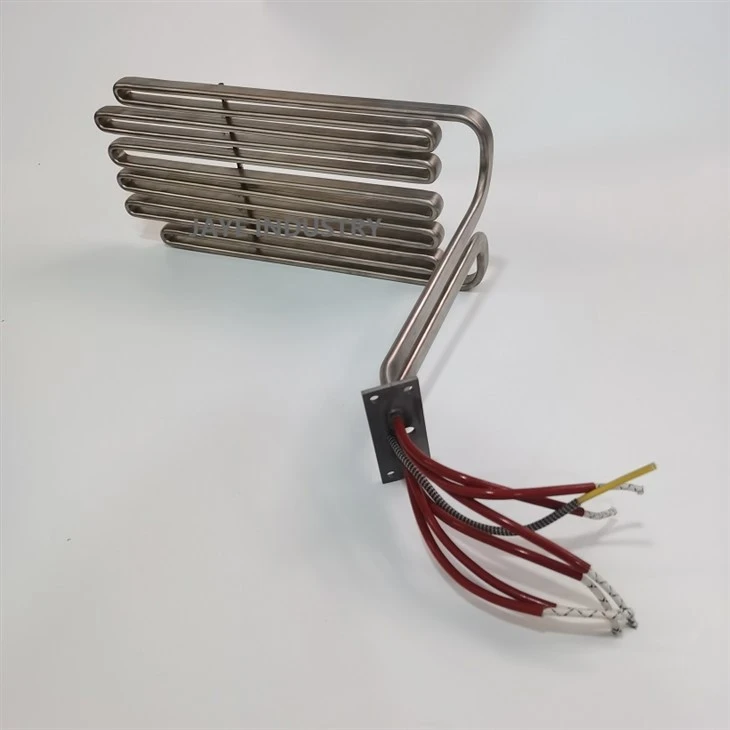
Use wire nuts or terminal screws to connect the wires securely. Make sure the connections are tight and there are no loose strands of wire. Once the connections are made, use the multimeter to test the continuity of the electrical circuit. This will ensure that the heating element is properly connected and ready to receive power.
Step 6: Inspect the Installation
Before turning on the power, take a final look at the installation to make sure everything is in place and secure. Check the wiring connections, the mounting brackets, and the overall fit of the heating element. Look for any signs of damage or loose parts.
Step 7: Turn on the Power and Test the Heating Element
Once you're satisfied with the installation, turn on the power supply. Monitor the heating element closely to see if it starts to heat up. It may take a few minutes for the element to reach its operating temperature.
Use a thermometer to check the temperature of the heating element and the surrounding area. Make sure the temperature is within the expected range for your application. If the heating element doesn't heat up or if there are any abnormal noises or smells, turn off the power immediately and check the installation again.
Troubleshooting
If you encounter any problems during the installation or testing process, here are some common issues and solutions:
- No heat: Check the electrical connections to make sure they are secure. Use the multimeter to test the continuity of the circuit. If there is no continuity, there may be a problem with the wiring or the heating element itself.
- Overheating: This could be due to a faulty thermostat or an incorrect wattage heating element. Check the thermostat settings and make sure the heating element is the right size for your application.
- Strange noises or smells: These could be signs of a damaged heating element or a problem with the electrical connections. Turn off the power immediately and inspect the installation for any signs of damage.
Conclusion
Installing a flat heating element is a relatively simple process if you follow the right steps and take the necessary safety precautions. As a flat heating element supplier, we're committed to providing high - quality products and support to our customers. If you have any questions about the installation process or need help choosing the right heating element for your application, don't hesitate to contact us. We're here to assist you with all your heating needs and look forward to discussing potential procurement opportunities with you.
References
- General electrical installation guidelines from industry standards.
- Manufacturer's instructions for flat heating elements.