Aug 03, 2023
Changing the heating element in your oven can vary depending on the oven model and type, so it's essential to consult your oven's user manual for specific instructions. Here are some general steps that can guide you through the process:
1. Safety first: Before attempting any repairs, ensure the oven is unplugged or the power supply is turned off at the circuit breaker to prevent electric shocks.
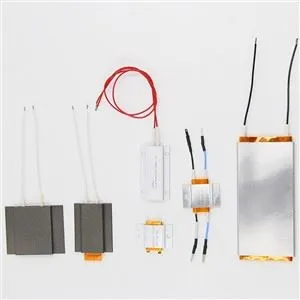
2. Locate the heating element: The heating element is usually visible at the top or bottom of the oven cavity, depending on the oven type (electric or gas). For electric ovens, it's typically at the top or bottom of the oven's interior.
3. Remove the old element: Unscrew or unclip the heating element from its mounting brackets or terminals. Carefully pull it out of the oven, taking note of how it is connected.
4. Identify the replacement: Purchase a new heating element that matches the make and model of your oven to ensure compatibility and proper functioning.
5. Install the new element: Position the new heating element in place, aligning it with the mounting brackets or terminals. Secure it in position using screws or clips.
6. Reconnect the wires: If the heating element has wires, connect them securely to the appropriate terminals following the color-coded markings or your notes from earlier.
7. Test the oven: Plug the oven back in or turn on the circuit breaker. Test the oven by setting it to a low temperature and see if the new heating element starts to heat up.
8. Reassemble and double-check: If everything works correctly, reassemble any removed parts, and make sure all connections are secure.

Previous: how do i replace the heating element in my oven?
Next: Do you take out the heating element when cleaning oven?