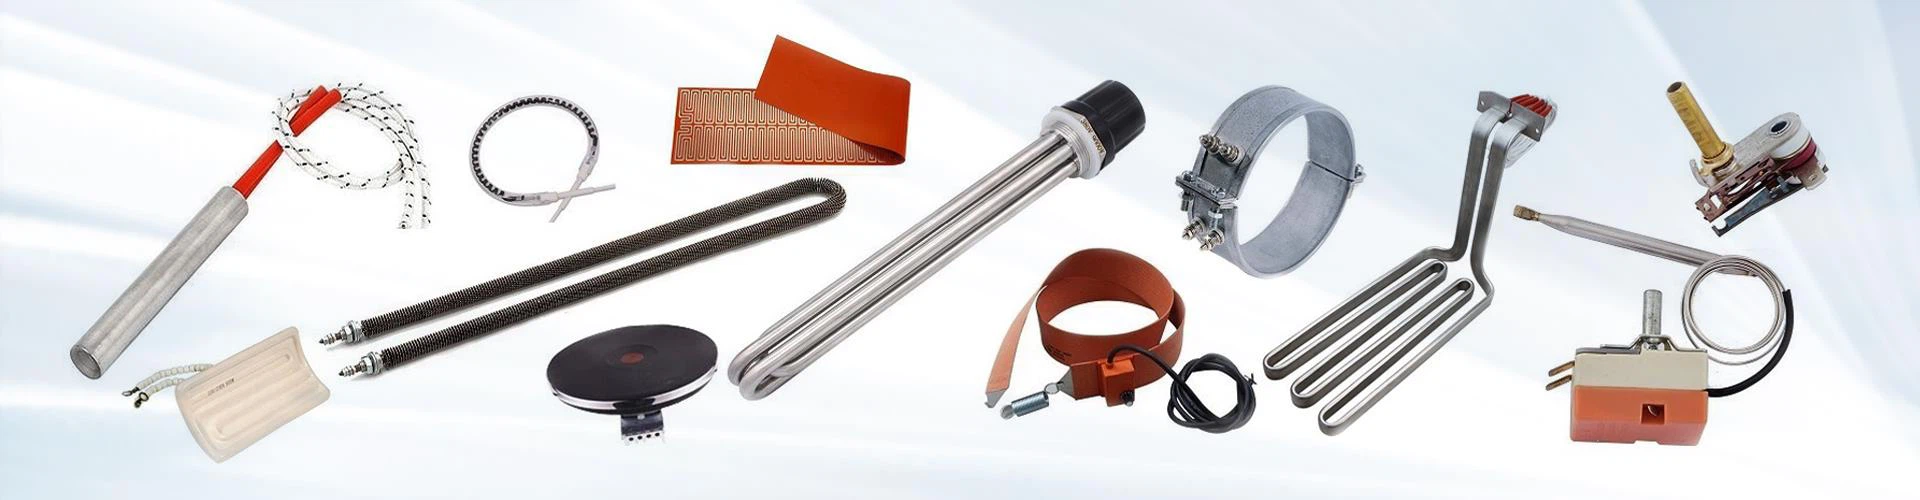
How to install a cartridge heater correctly?
Installing a cartridge heater correctly is essential to ensure efficient heating and avoid damage to both the heater and the system it is integrated into. Here's a step-by-step guide to help you install a cartridge heater properly:
- Prepare the Hole: Make sure the hole where you're installing the heater matches the heater's diameter (usually 0.1-0.2 mm larger for a snug fit). The hole should be clean and smooth.
- Insert the Heater: Slide the heater into the hole fully. It should fit tightly to ensure good heat transfer.
- Secure the Heater: Use clamps or brackets to hold the heater in place. Don't overtighten, as this could damage the heater.
- Connect the Wiring: Attach the heater's power leads to the electrical connections. Ensure the wires are insulated and properly grounded.
- Check for Air Gaps: Ensure there are no gaps between the heater and the material. If necessary, use thermal paste for better heat transfer.
- Test the Heater: Run a test to make sure the heater is working correctly and there are no issues with heating or electrical connections.